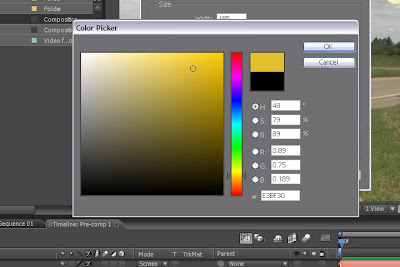
Start out by creating a new solid that is a sort of yellow/orange color like this:

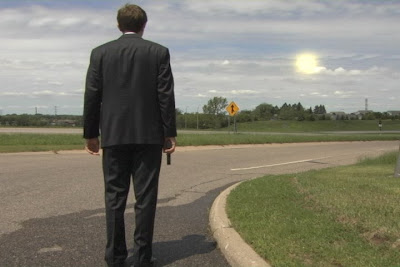
Now select the oval mask shape tool, and while you drag you may choose to hold down shift to confine it to the shape of a circle. This is the basis for our sun. Next, apply a simple fast blur to around one to five pixels, depending on the resolution of the video behind it. Duplicate the layer twice. With the first duplicate, turn the blur amount to to about 50 pixels, and set the third one to anywhere between 150 and 200 pixels, judging which looks best. Now you can set the core of the sun to the screen transfer mode (the layer with the one-pixel blur), and the other two to the add transfer mode. And this is what we get:
 Of course you would want to motion track the sun into the sky, and set the anchor point to be the center of the sun, using the pan behind tool.
Now it looks better, but we can do something else, and that's a lens flare. Now after effects is quite limited in it's ability to create lens flares, since it only has three presets, so you may find yourself buying a plug-in eventually, such as Knoll Light Factory.
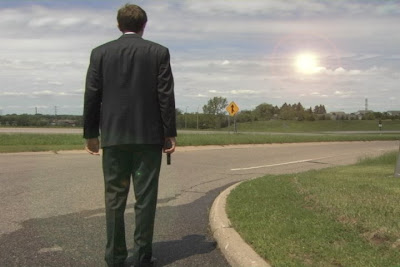
But if you opt to use the After Effects lens flare effect, create a new black solid, apply the lens flare effect (Effect-->Generate-->Lens Flare), adjust the settings to your preference, and set the layer to screen, not add (it ends up being way to bright, and blows out many parts of the flare). Be sure to paste the tracking data from the sun to the Flare Center. I always bring the opacity of the flare layer down as well.
After you've done all that, we have this:

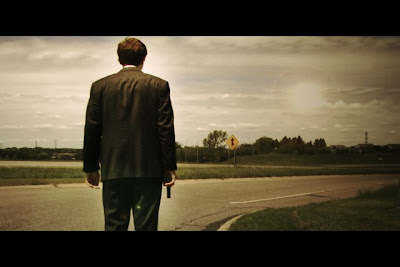
Lastly, you can perform your color correction, and end up with something like this:

It's a very subtle effect, but realistic compositing and grading is all about the little details.
Note: You want to set the black and white points after adding the sun, but before the lens flare, as well as the gradients and vignettes. All of this was demonstrated in my tutorial, Creating Digital Cinema.

8 comments:
Thank you Grant! Very useful.
And, you really want to do all compositing at 32 bit with your project setup correctly for it to nail the realism.
Looks awesome! Thanks!
Anonymous # 2 - i think 16 bpc is fine for most compositing...32 bpc really only makes a noticeable difference when working with superbrights and some color correction
Check out Mark Christensen's book on AE - he has a tutorial on compositing in a sun to a scene and the linear light features of 32 bit (float) cannot be matched with 16 bit.
Before there was 32 bit float in AE, there was a plugin called eLin. While the plugin parts are now covered by After Effects you can see the amazing power of the dynamic range it provides even in scenes without the extra bright information. The difference IS VERY noticeable!
Oops, forgot the link to the video clips:
http://redgiantsoftware.stores.yahoo.net/elindemomovies.html
There is LA day and a speedometer one
Great tutorials, Grant. Thanks
Post a Comment